Create an instance
You can create an instance with the provider's defaults in a few clicks, or go through every option the provider offers. You need at least one provider installed and a namespace to create the instance in — see Namespaces.
Create an instance in the UI
-
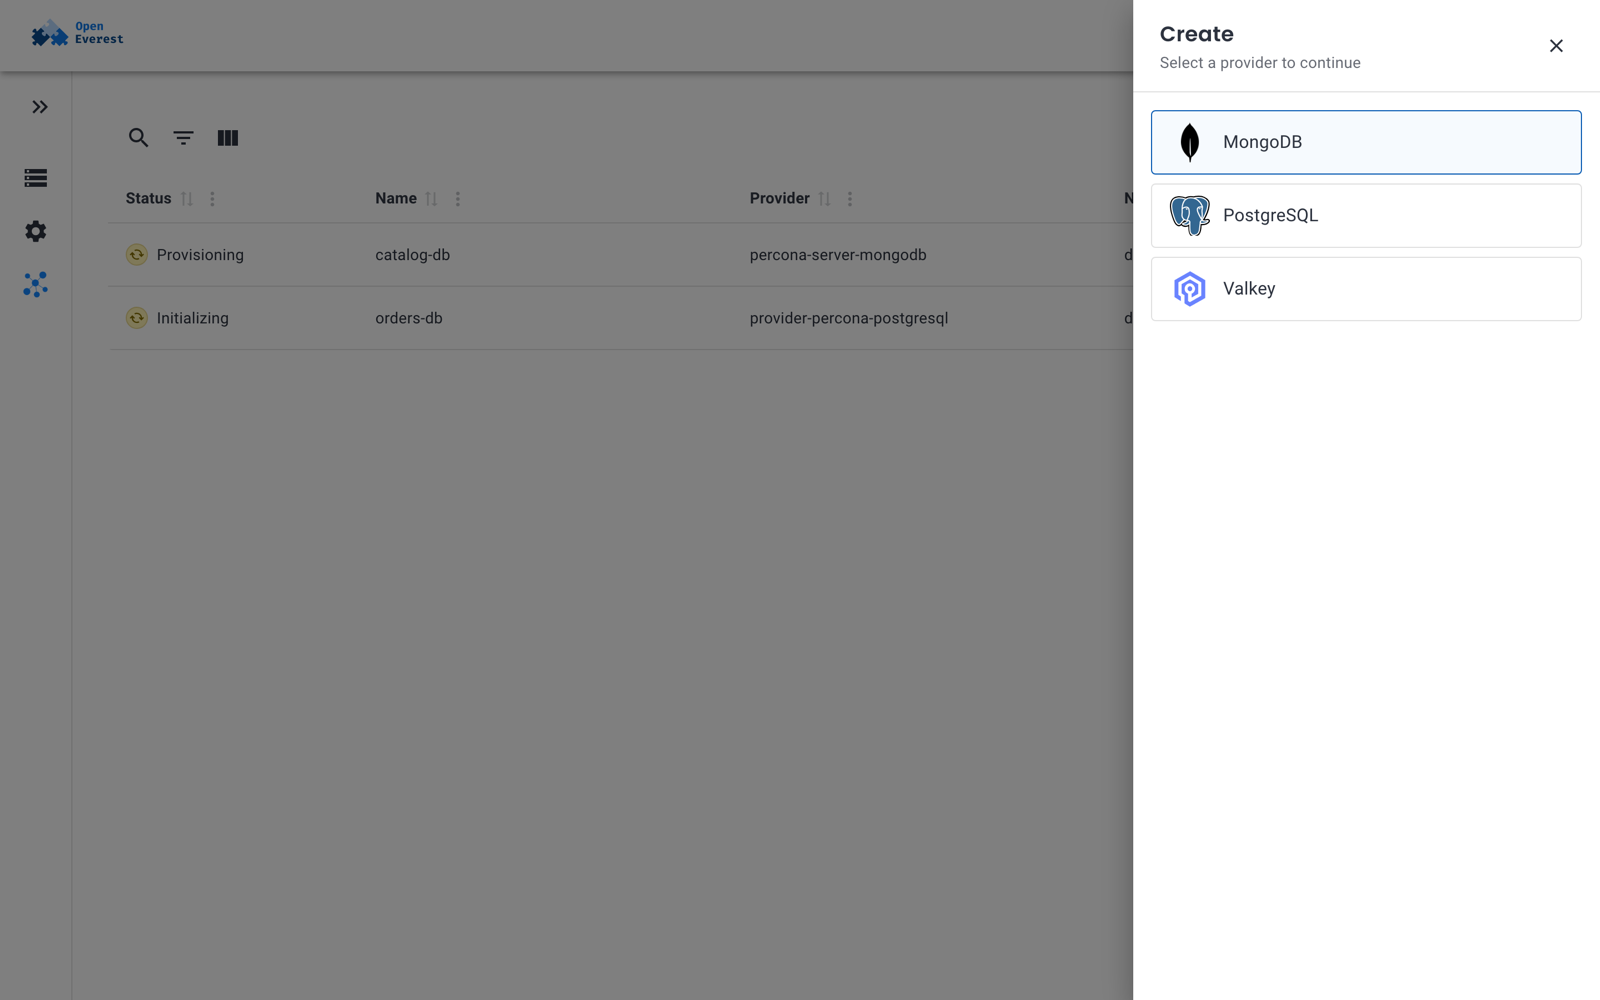
On the Instances page, click Create and select a provider. When no instances exist yet, click the provider's tile instead.
-
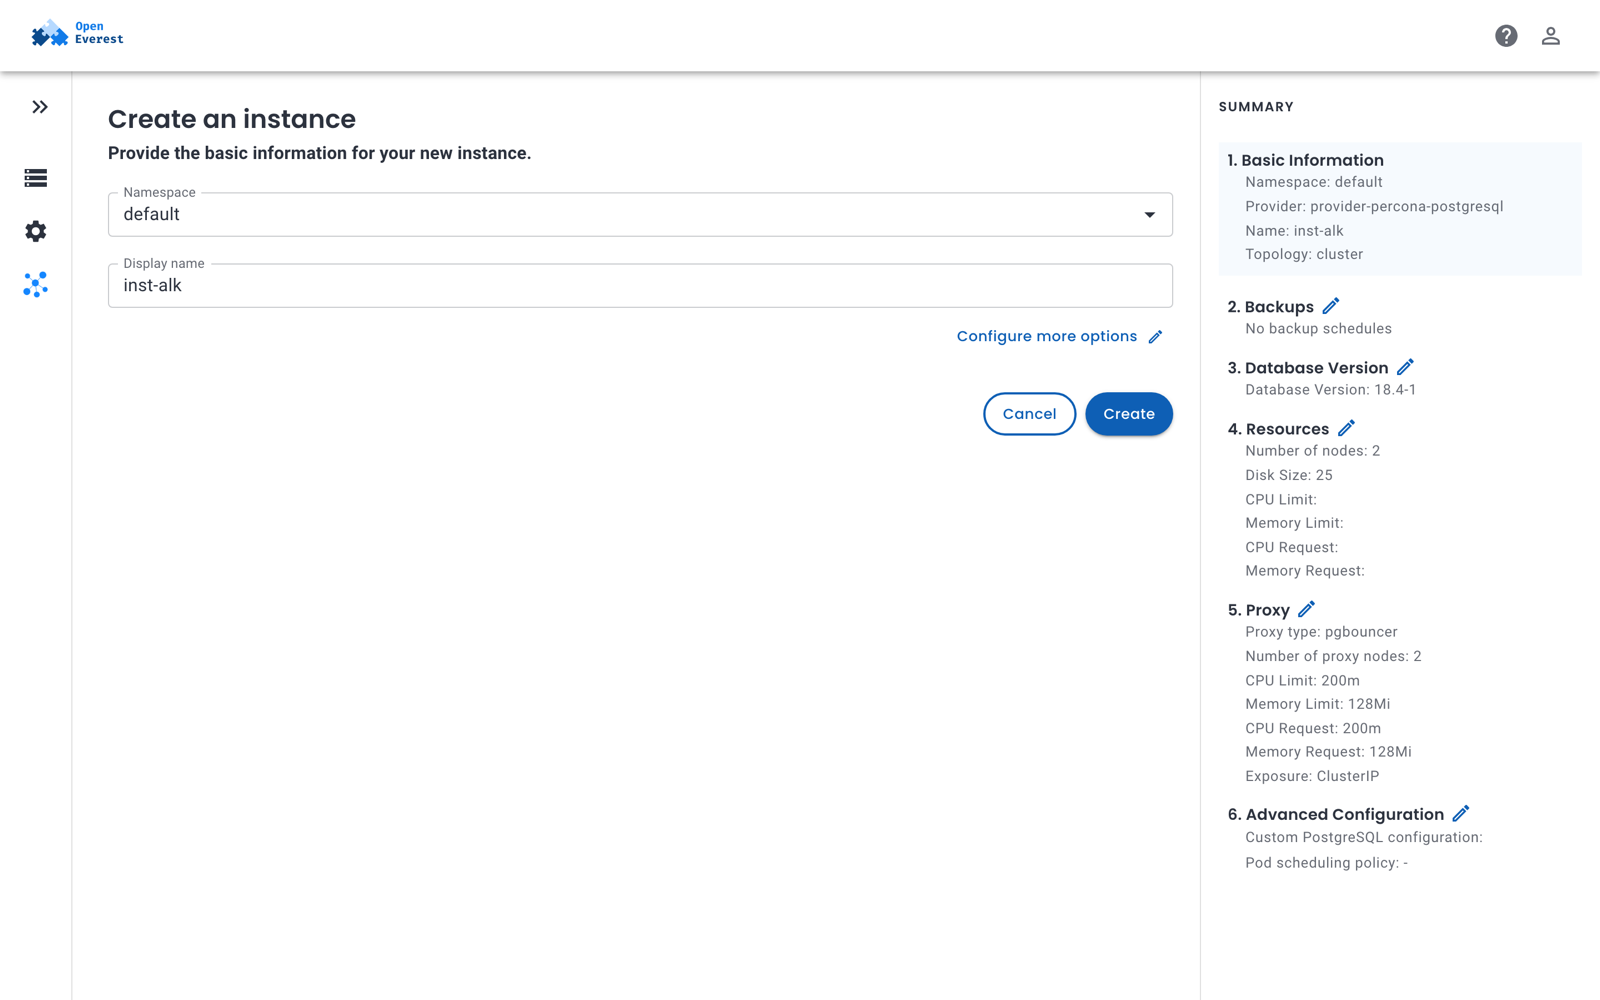
Fill in the basic information:
- Namespace — where the instance and its resources are created.
- Display name — the name of the instance. It must be unique in the namespace.
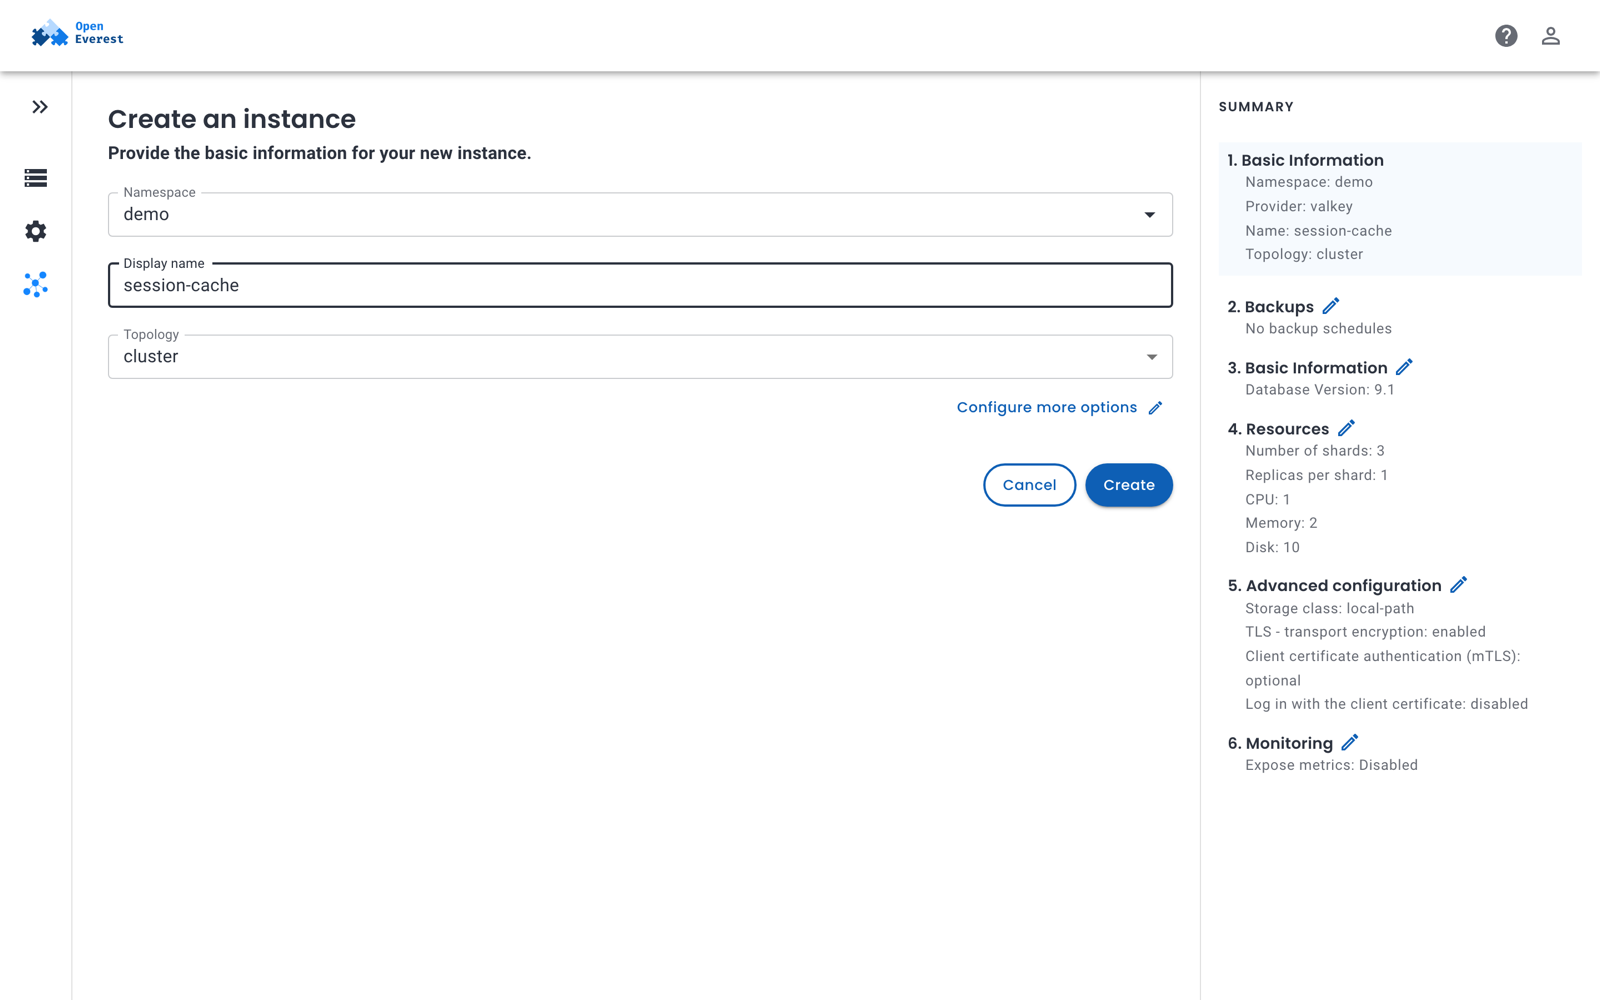
- Topology — shown when the provider offers more than one, for example replica set or sharded for MongoDB.
- Preset — shown when instance presets exist. A preset pre-fills the rest of the form.
The Summary on the right shows the configuration the instance will get.
-
Click Create to use the defaults, or Configure more options to change them.
The instance appears on the Instances page with the status Provisioning or Initializing and becomes Ready when it is up.
Configure more options
Configure more options walks you through the settings step by step. The steps and fields come from the provider, so they are different for each technology. You can jump to any step with the edit icons in the summary.
For example, the PostgreSQL provider has these steps:
| Step | What you configure |
|---|---|
| Backups | Backup schedules and point-in-time recovery. You need a backup storage first. |
| Database Version | The engine version. |
| Resources | Number of nodes, disk size, CPU and memory limits and requests. |
| Proxy | The connection pooler: type, number of nodes, resources and how clients reach it (Exposure). |
| Advanced Configuration | Custom engine configuration parameters and the pod scheduling policy for each component. |
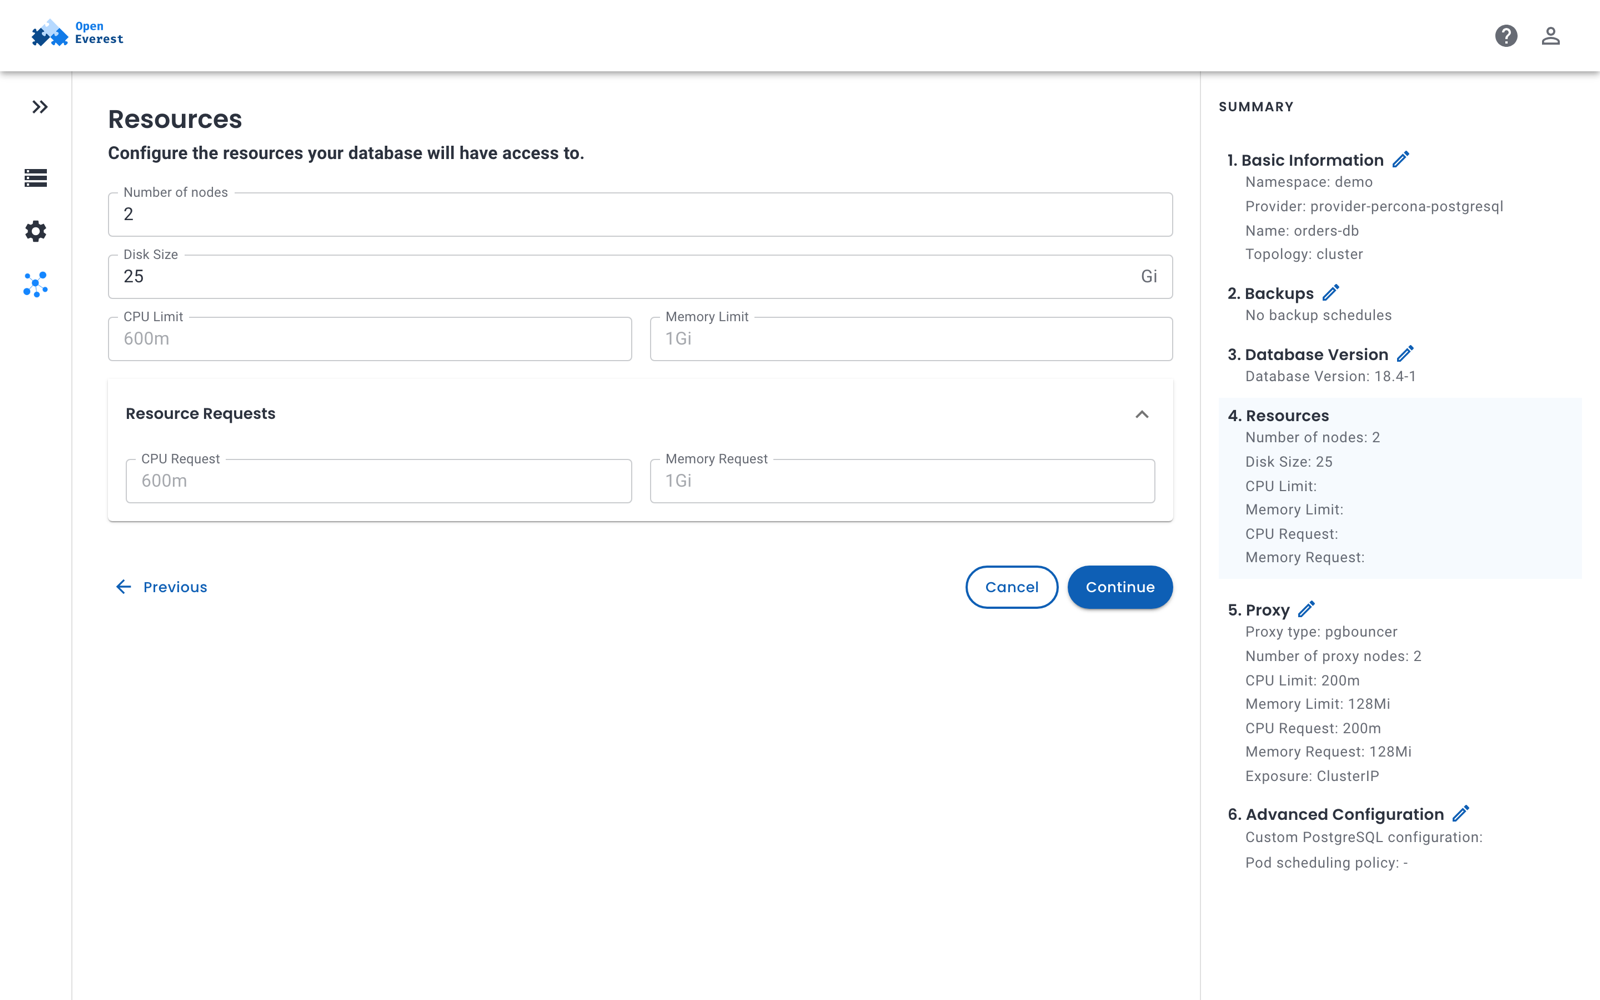
A Valkey instance, by contrast, asks for the number of shards and replicas per shard, TLS settings and whether to expose metrics.
Some sections are optional and have an Enable switch. While a section is off, its fields are not sent and the provider's defaults apply.
Click Create on the last step to create the instance.
Create an instance with kubectl
An instance is an Instance custom resource, so you can also create it with kubectl or a GitOps tool. Which fields are required depends on the provider — the PostgreSQL provider, for example, needs the engine and proxy components. Fields you leave out get the provider's defaults.
apiVersion: core.openeverest.io/v1alpha1
kind: Instance
metadata:
  name: orders-db
  namespace: demo
spec:
  providerRef:
    name: provider-percona-postgresql
  topology:
    type: cluster
  components:
    engine:
      replicas: 3
      storage:
        size: 50Gi
    proxy:
      type: pgbouncer
      replicas: 2
kubectl apply -f orders-db.yaml
If the provider rejects the instance, the reason is in the provider's logs and in the instance's status. To find the topologies, components and versions a provider supports, look at its Provider resource. Creating the instance once in the UI and copying its spec (kubectl get instance <name> -o yaml) is a quick way to get a valid starting point.
kubectl get provider provider-percona-postgresql -o yaml
See Instance for the full reference.