Quickstart
This guide creates a local Kubernetes cluster, installs OpenEverest and a provider, and creates your first instance. It takes about fifteen minutes.
OpenEverest 2 is a Developer Preview and is not intended for production. Install it on a fresh cluster: there is no upgrade path from OpenEverest 1.x yet, and running 1.x and 2 in the same cluster is not supported.
Before you start
You need:
- Docker with at least 8 GB of memory available, and k3d 5 or later. To use a cluster you already have instead, see Prerequisites.
kubectl.- Helm 3.
1. Create a cluster
- Local cluster (k3d)
- Existing cluster
Create a cluster with three nodes, so that instances with three members can spread across them:
k3d cluster create openeverest \
  --agents 2 \
  --image rancher/k3s:v1.37.1-k3s1
k3d points kubectl at the new cluster. Check that the nodes are ready:
kubectl get nodes
NAME                       STATUS   ROLES           AGE   VERSION
k3d-openeverest-agent-0    Ready    <none>          10s   v1.37.1+k3s1
k3d-openeverest-agent-1    Ready    <none>          9s    v1.37.1+k3s1
k3d-openeverest-server-0   Ready    control-plane   13s   v1.37.1+k3s1
Any cluster with Kubernetes 1.32 or later and a default StorageClass works, in any cloud or on-premises. See Prerequisites for what it needs.
Check that kubectl points at it:
kubectl get nodes
2. Install OpenEverest
Add the OpenEverest Helm repository and install the core into the everest-system namespace:
helm repo add openeverest https://openeverest.github.io/helm-charts/
helm repo update
helm install everest-core openeverest/openeverest \
  --devel \
  --namespace everest-system \
  --create-namespace
--devel installs the newest OpenEverest 2 preview; without it, Helm picks the newest stable release, which is OpenEverest 1.x.
Wait until the pods are running:
kubectl get pods -n everest-system
NAME                                      READY   STATUS    RESTARTS   AGE
everest-controller-5474b99686-mw5c9       1/1     Running   0          40s
everest-core-plugin-hub-566d44f99-k7554   1/1     Running   0          40s
everest-server-7b6db64b79-728z8           1/1     Running   0          40s
3. Add a provider
The core does not run any technology by itself. Install at least one provider into the same namespace. This guide uses the PostgreSQL provider:
helm install provider-percona-postgresql \
  oci://ghcr.io/openeverest/charts/provider-percona-postgresql \
  --namespace everest-system
The provider chart also installs the Kubernetes Operator it drives. Check that the provider is registered:
kubectl get providers
NAME                          AGE
provider-percona-postgresql   90s
Providers are released separately from OpenEverest, and each provider release is built for a specific OpenEverest version. Helm installs the newest provider release. If the provider does not start, it may need a newer OpenEverest than the one installed — see Match the provider and core versions.
To use other technologies, find their providers in the Plugin Hub inside OpenEverest. See Add providers.
4. Log in
-
Get the password of the
adminuser:kubectl get secret everest-accounts -n everest-system \-o jsonpath='{.data.users\.yaml}' | base64 --decode | yq '.admin.passwordHash'To choose the password yourself, add
--set server.initialAdminPassword=<password>to thehelm installcommand in step 2. Either way, change it after you log in. -
Forward the OpenEverest service to your machine:
kubectl port-forward svc/everest 8080:8080 -n everest-system -
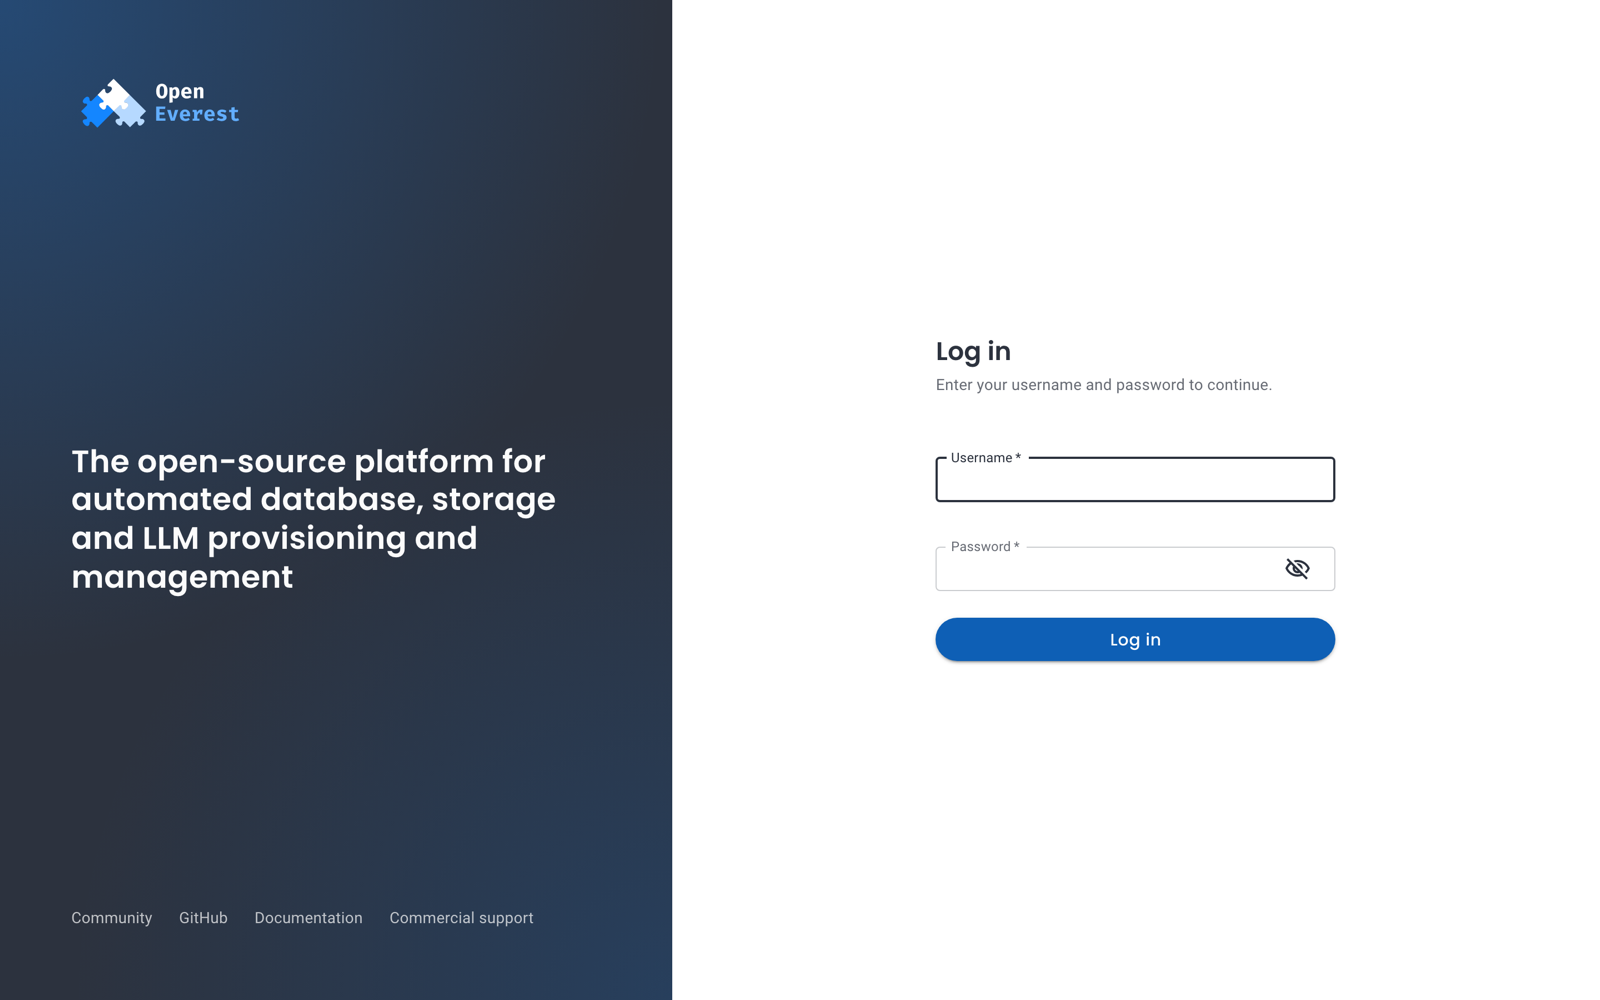
Open http://localhost:8080 and log in as
admin.
To expose OpenEverest permanently with a load balancer or an Ingress, see Install OpenEverest.
5. Create your first instance
Instances live in namespaces of your choice. Create one for this guide:
kubectl create namespace demo
-
On the Instances page, click the provider you installed.
-
Select the
demonamespace and enter a display name. The summary on the right shows the defaults the provider will use.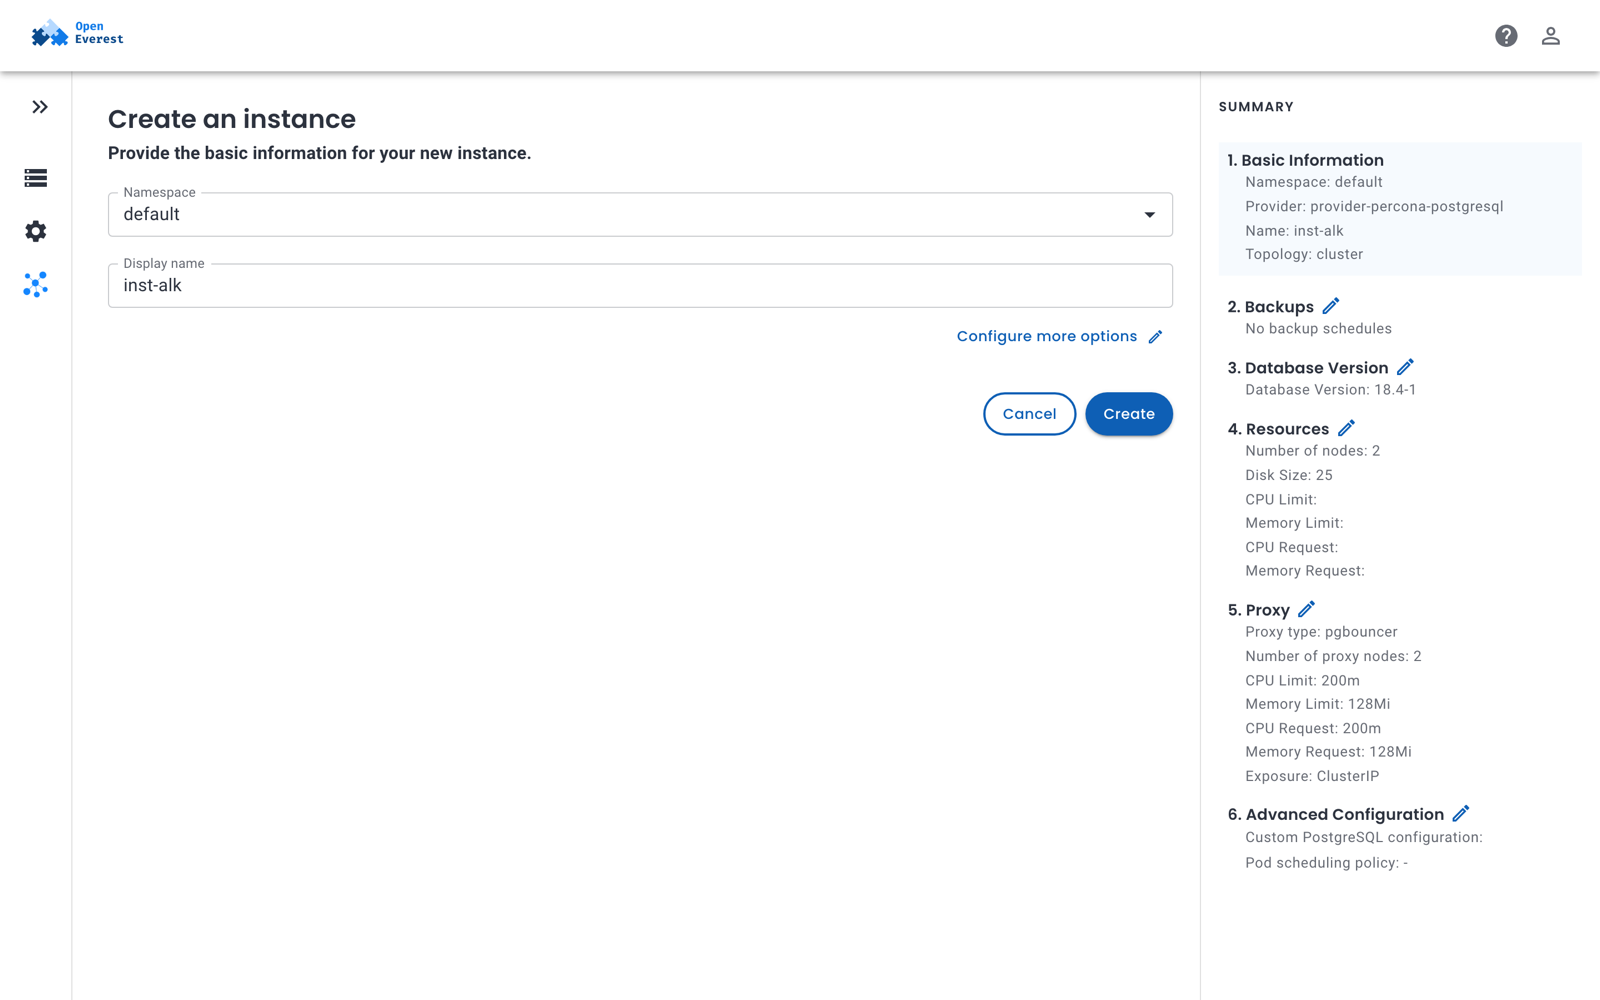
-
Click Create.
The instance appears in the list with the status Initializing and becomes Ready when all its components are running — on a local cluster, after two to three minutes. You can follow the same progress with kubectl:
kubectl get instances -n demo
NAME        PROVIDER                      VERSION   PHASE   AGE
orders-db   provider-percona-postgresql   18.4-1    Ready   2m44s
Clean up
To remove everything, delete the cluster:
k3d cluster delete openeverest
On an existing cluster, see Uninstall.